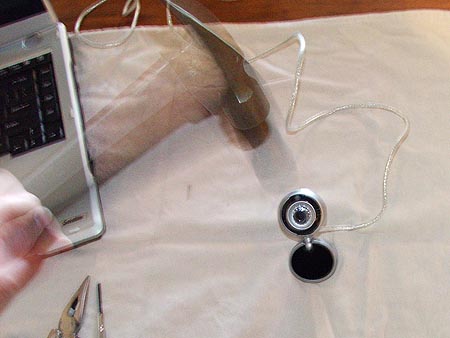
I had the idea of building a volcano webcam. I have some spare computer parts, a bit of extra bandwidth, and a clear shot of an active volcano from my front yard. The only problem is the volcano isn’t real close (as it is an active volcano, I don’t really see that as a day to day problem).
With a 10x or 8x binocular, the volcano will fill the viewfinder. If only I could have a webcam with a binocular attached.
Thus,. this project.
I’m going to pretend for a moment someone else out there would like to use this as a guideline for building their own Volcano Nocularcam so I’ll sort of write this as a step-by-step guide.
Things you’ll need.
1) Cheap webcam
2) Cheap binoculars
3) Styrofoam
4) A bottle of Hydrogen Peroxide
5) Duct Tape (of course)
6) Matte Knife*
7) Screwdriver*
8) Hammer
9) Dremel tool**
10) Permanent marker
11) A computer or something for the webcam (duh)
* or handy Leatherman
** You won’t really need a Dremel tool for this project. I only included it in the parts list because every other mod project online lists one.
STEP 1
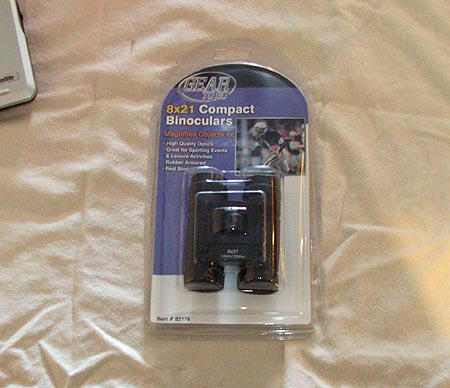
Acquire some cheap binoculars. I found mine (8×21) at Toys-R-Us for $10.
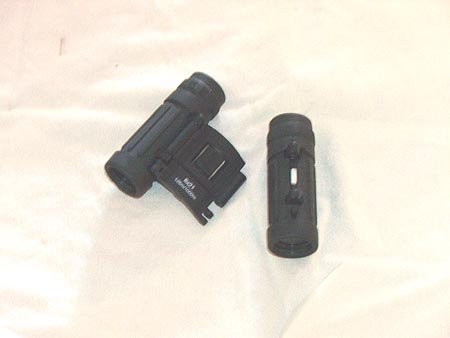
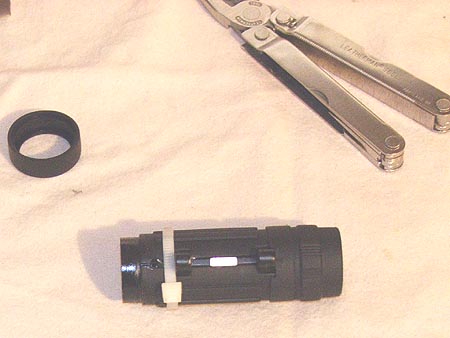
Turn your binocular into a monocular by removing the left, umm,. nocular. The one I bought had a couple screws on the inside. I removed the screws and yanked the nocular off.
STEP 2
Acquire a cheap webcam. I found one at Target for $29.
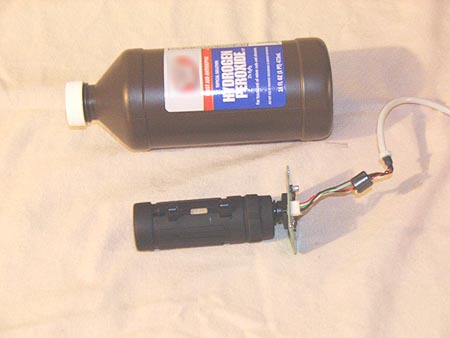
Carefully remove the pretty outer case. You won’t need it and it’s much geekier to remove electronics from their housings anyway.
A word of warning: Broken plastic pieces can be sharp and you just might cut yourself. Use the hydrogen peroxide to clean your wounds.
STEP 3
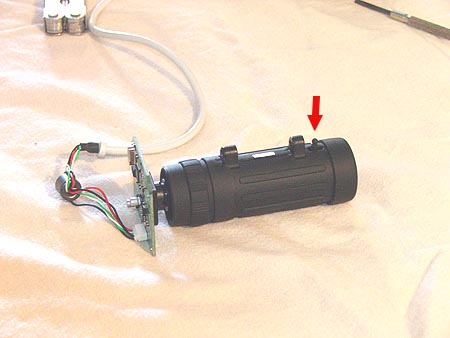
Install the software for the webcam and point the webcam lens through the eye piece of the nocular. You’ll have to play around a bit with the focus on the webcam (if it isn’t fixed focus) and the focus on the nocular. I adjusted mine to focus to infinity and beyond.
On my binoculars there was a middle focus dial. It stayed attached to the other section when I yanked this nocular off. The red arrow points to a slide adjustment for focus. Later, I’ll need to adjust the focus and then secure it so it won’t move.
I’ve more to do so I won’t bother at this point.
STEP 4
I’ve got the camera element and the nocular ready to go. When I was playing with the focus I found the thing is rather touchy when it comes to alignment. A little off one way or the other and the image catches the side of the nocular lens. We need to avoid this somehow.
At first I thought of gluing the cam lens directly to the nocular eye piece. I figured there was a level of error involved in this. Glue on either lens (which are plastic) would end this project straight away.
I decided to secure the nocular and webcam in a housing of some sort.
As I was cleaning the cut I received from step two I realized I was holding the perfect housing. A hydrogen peroxide bottle.
Here is my idea: The lens of the nocular will stick out the top, holding it perfectly center to the webcam elements which will be mounted on a circle of Styrofoam cut to fit inside the bottle. How perfect is that?
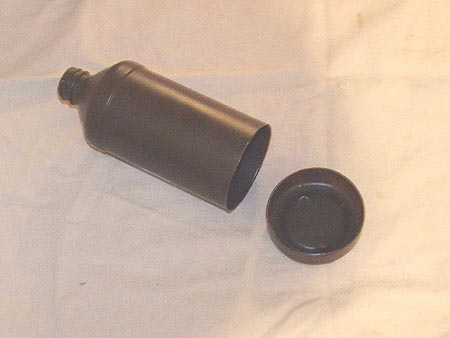
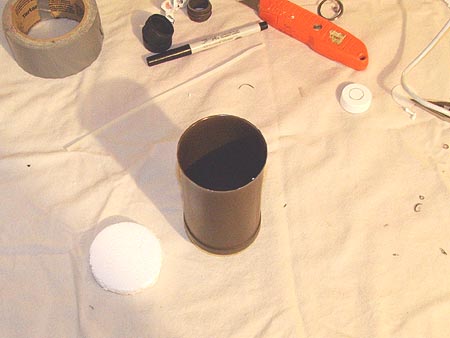
First things first. Cut the bottom off the bottle along the raised ridge. This will allow us to fit the bottom back on later. A little duct tape around the bottle will give us a snug fit and should hold the bottom on nicely.
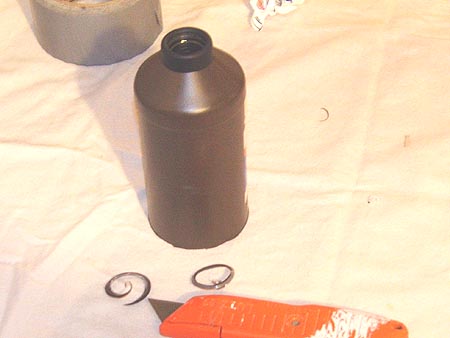
Fit the bottom back on. Make a mark near the edge of the bottom piece. This is where we’ll want to cut a small hole to feed the webcam cable out. I cut a small hole the size of the cable and then made a cut from the hole to the bottom of the bottle. This way I can slip the cable through the cut and later cover the cut with more duct tape.
(Re-reading that doesn’t make much sense,. but perhaps it does to you. There is a picture of this later for reference)
A word of warning: Be careful to not cut yourself as you are now out of hydrogen peroxide.
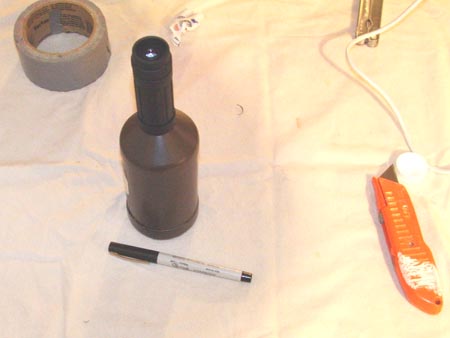
Next we need to cut a hole for the lens to stick out of. Cut off the top off the bottle. Place the nocular lens on top of the bottle and trace around it. I cut mine a tad smaller than I needed and trimmed to fit later.
The end of my binoculars had little rubber protectors. A bit of force and they popped right off. I cut the hole in the bottle to fit the nocular without the rubber protector. I figured I could slide the nocular through the hole and fit the rubber bit back on to help hold it in place.
Perfect fit.
This is starting to look just like a..
a..
ummm..?
a bottle of hydrogen peroxide.
STEP 5
Now that I know how this is going to be mounted I’ll need to secure the focus on the nocular. I’m going to be stuffing the end through a bottle so I suppose I only need to stop the slide from moving back. It just so happened a zip tie stopped it from moving back at the perfect focus point. Your mileage will vary.
STEP 6
Next we need a disk of Styrofoam to fit between our webcam and nocular lens.
Cut a hole in the Styrofoam just smaller than the nocular lens and another for the webcam lens. We’ll want these to fit very snugly as this is going to hold the two together.
STEP 7
At this point we should have all our pieces cut, fitted and ready to go.
A) Bottle bottom
B) Webcam
C) Styrofoam
D) Nocular
E) Bottomless and topless peroxide bottle
F) Rubber bit from the end of the nocular lens.
Let’s fit it all together and hope it works.
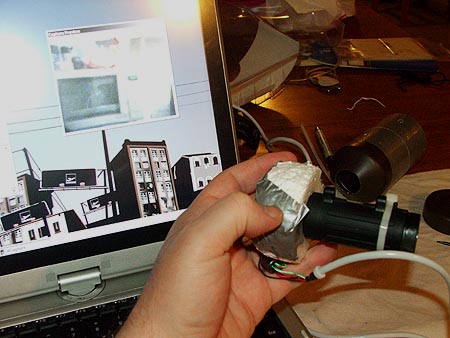
Now for the hard part. Stuff the nocular eyepiece and webcam into the Styrofoam and align it by monitoring the image on a computer. For me, this took a bit of fiddling and Styrofoam trimming to make everything align just right. Use duct tape to secure everything in place.
Once you’ve got it the best you can, stuff the lot into the bottom of your bottle.
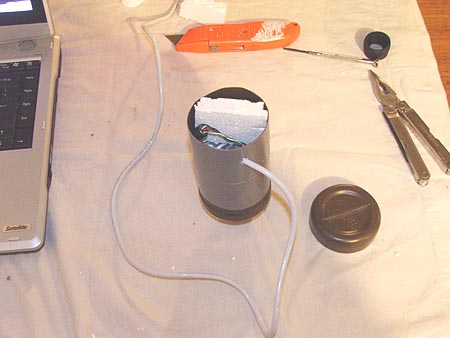
I cut a small block of Styrofoam to wedge into the back of this mess to make sure everything doesn’t slide back once I get the bottom secured in place.
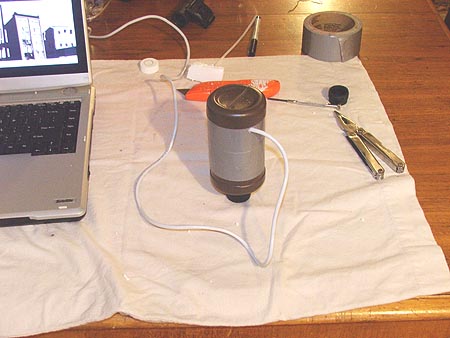
Oh yeah. Remember back in step 4 when I was rambling on about the hole for the cable. You can see it in the picture above.
Put the bottom of the bottle on.
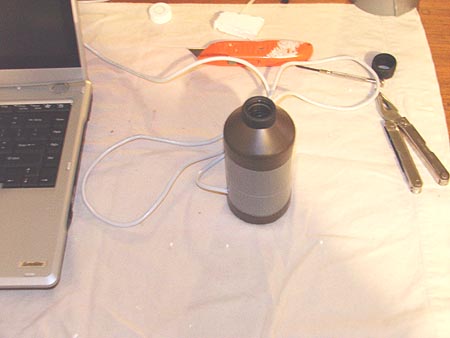
TAA DAAA!
That’s it. You’re done.
Plug the webcam into the computer and make sure nothing slipped out of place and the image looks good. If it is you can add a piece of duct tape to hold the bottom on.
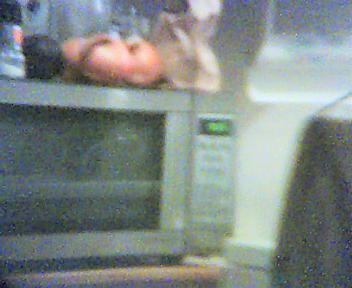
Once I was done putting this together it was too dark outside to test the image. I did happen to grab a shot of the microwave in the kitchen.
The microwave was only about 4 meters from me so it came out a bit blurry (remember my focal point was set to infinity and beyond). It’s also grainy as this webcam will need lots of light because it’s going through a few extra lens. It should work great for an outside daytime camera,. not so good inside.
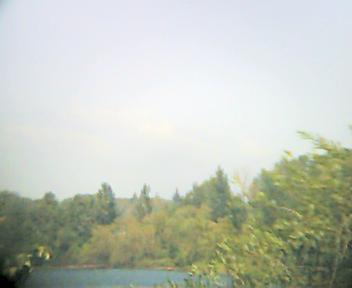
Next Day Update: It was a bit hazy today to see the volcano. I did mange to snap a shot with the Nocularcam in the general area of the volcano. It looks like it still needs a little adjusting.
Next I’ll need to figure out a way to mount this. I’m sure it will have something to do with duct tape and zip ties.


Leave a Reply